We are in a state where fitness trackers, smart watches and digital timepieces have become a popular trend. We are proud to share the manufacture of fitness tracker POS displays for some leading brands in the country. Now there is upcoming manufacture of another display especially for smart watches.
Step by Step Process:
The initial 3D render process is followed through towards production unit.
Step 1- Drawings and Blueprints:
In this project, our client needed a display unit that would be appealing and cost-effective. We developed the whole thing from the ground up, to production drawings and processes from 3D renders they provided. The project required close discussion to get the desired design in a cost-effective and timely manner. We’re always happy to help with creative projects like this!
Step 2- Cutting the Mild steel sheet:
Mild steel Large sheet (CR4) is loaded and cut on our TruLaser 3030 machine
Step 3- Laser cutting:
With a wide range of functions, laser cutting can be used to cut out the various parts of the POS unit. This includes precise details like holes for screws and fixtures, round corners and also serial numbers. Due to its accuracy and flexibility, laser cutting is a quick and effective method of producing retail POS units.
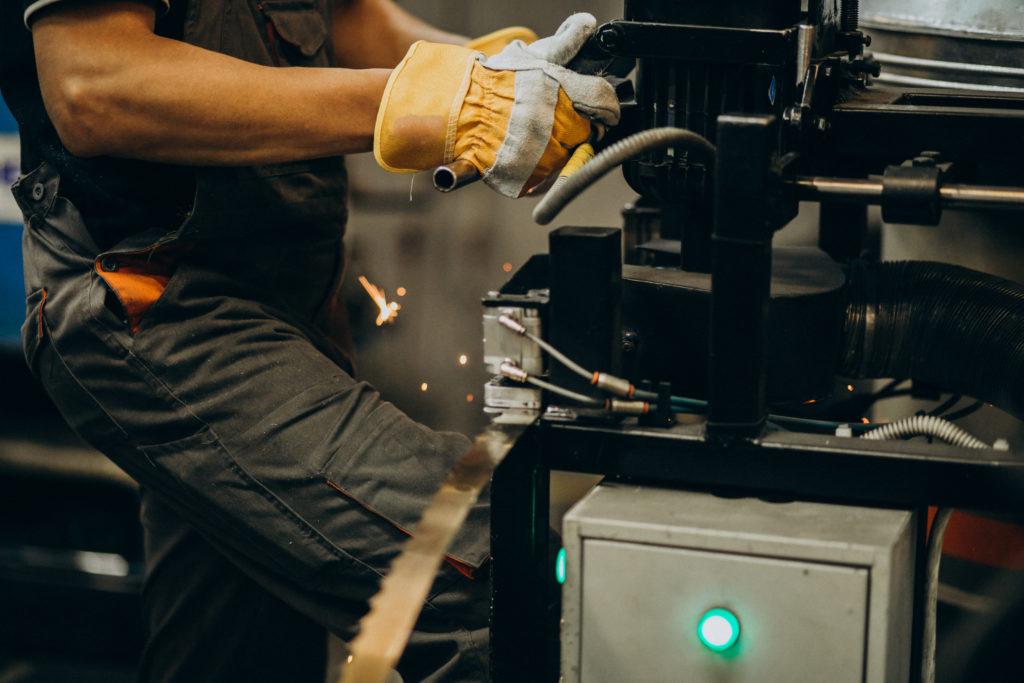
Step 4 & 5- Press braking and Fittings:
Our press brake team often have to in collaboration with our Pemserter team to bend the metal work and insert clinch studs and nuts. So many bends can be processed at a specific point, before fasteners have to be inserted as it may difficult to access them later.
A seamless process takes place when there is a good working relationship between these teams. Reading and analyzing the drawings accurately is the necessity. Here the Pemserter team, with help of good and analyzed manufacturing drawings, precisely place studs and nuts into the metalwork.
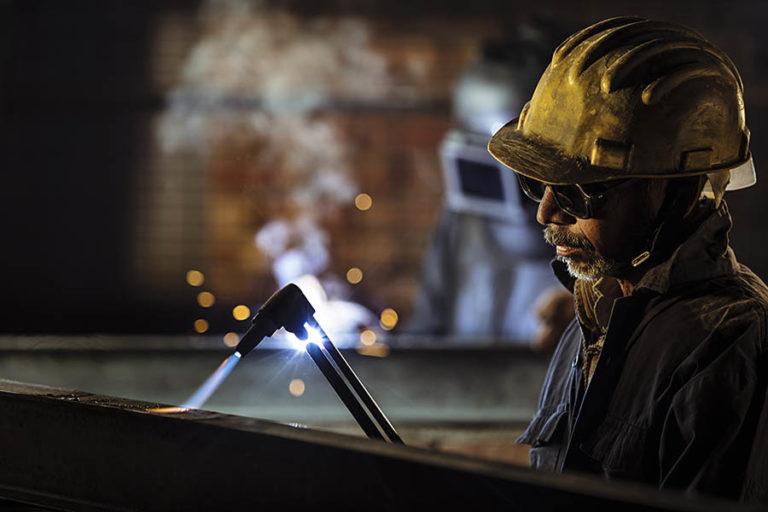
Step 6- Welding:
Firstly the welder attaches the back panel to main body with MIG stitch welding. Next, a fixing bracket is stitch welded to the main body. The parts are riveted together to save time and cost, as they are unnoticeable with no affect on security of POS display. Once the body is in shape, finally rest of the parts are TIG welded together to complete the main body of unit.
Step 7- Finishing:
The finishing and polishing team have to put some serious effort into these weld joints. They make sure to polish the welds smoothly to create a soft, polished corner and base unit. These little details and quality finish are what give the powder coating a better base. This prevents any blemishes caused by welding to be seen or felt through the finished paint.
Step 8- Powder coating:
The prototype retail display units before going to the powder coating process, have to pass the cleaning phases. Started with coating on the back panels, and then the rest of the display sections are powder coated.
It is important to have references and visuals at this stage as there are so many different parts to paint in various colors. Simple hand notes on RAL colors can help to keep track and prevent any mistakes.
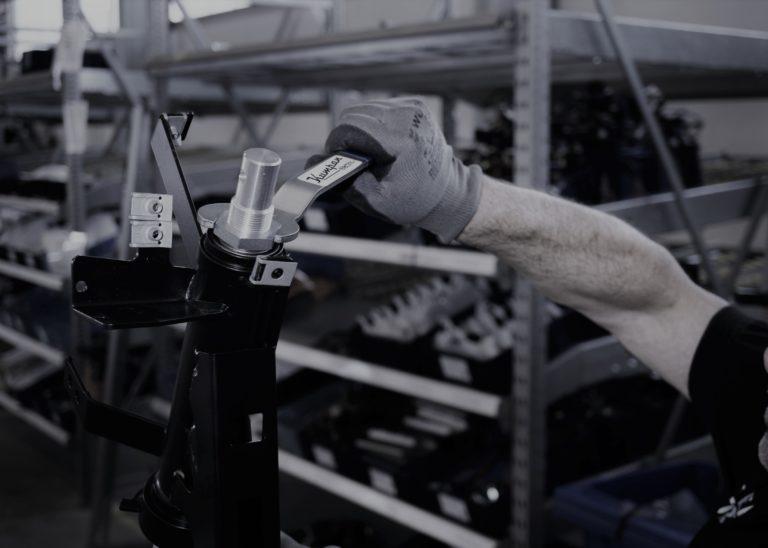
Step 9- Assembly:
The rubber feet are inserted into the base unit when various parts are brought together in the assembly department. LED strips are tested for design and practicality and cables that secure nuts are fixed in place.
Final touches:
We start by applying vinyl graphics to the color blocks and inserting the plastic back panel to cover the LED strips. The color blocks are then secured into the unit with M4 bolts. Finally smart watches are secured with special anti-theft brackets under the colored panels.